Transcript
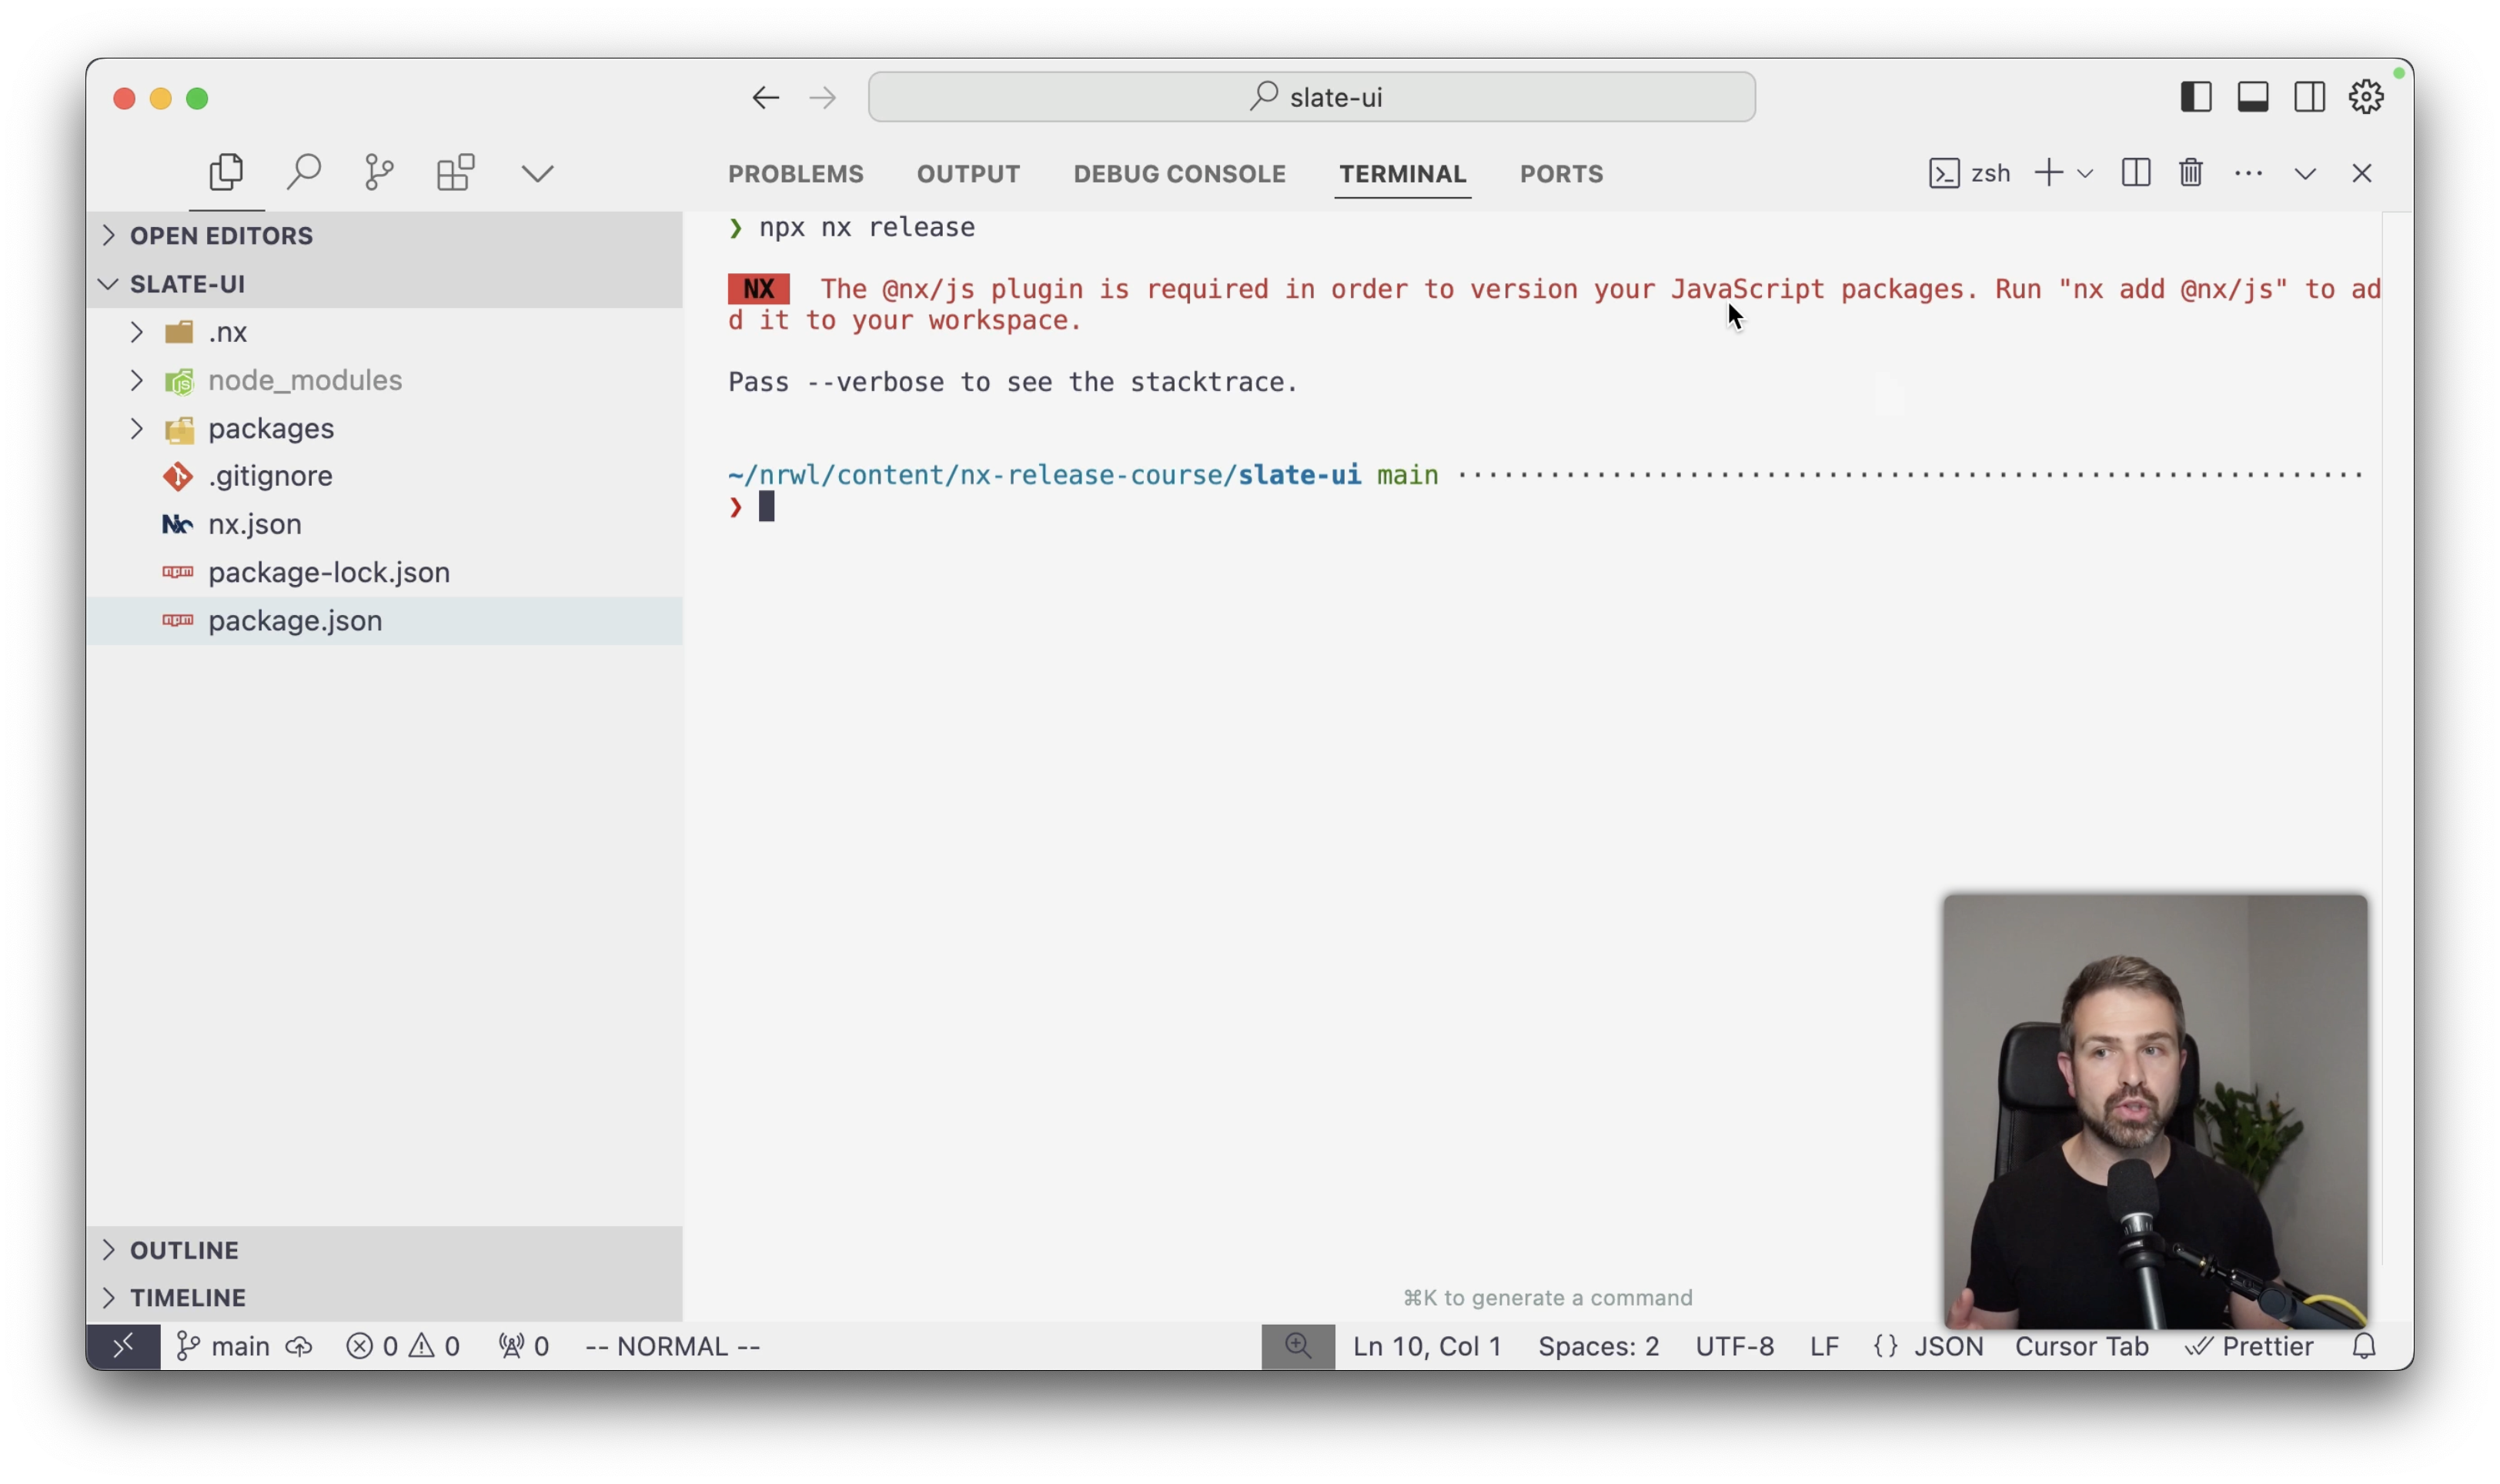
00:00 So since in this repo now we have NX installed, we also have the NX release command available, which is baked into the CLI. And so we can just run NX release. However, what you will see is you will get an error saying that you need the @nx/js plugin in order to version your JavaScript packages.
00:16 And the reason is that the NX release command that is baked into the CLI is only taking care about the core implementation of versioning, changelog generation and releasing. And it's actually tech agnostic. So it doesn't really care about whether your version JavaScript packages, Rust
00:32 packages, or even deploying applications. And this makes it really extensible, but also flexible. So what you need is an add-on on top that implements the specific logic for JavaScript packages, for Rust packages, for .NET packages, etc. Now for JavaScript specifically,
00:49 which we care in this specific course here in this repo example, we have the @nx/js plugin that has been implemented by the NX core team. And so we can install that to get JavaScript versioning. Now this is just an npm package, so we could just go ahead and add it to our root package json.
01:06 However, NX comes with an add command, which will take care of making sure the correct version of that plugin is being installed based on which NX version you have. And it also runs some configuration step. So let's just go ahead and use the add command here. And you can see here
01:22 it runs such an initialization step, which updates here the @nx/js and the package json. So let's quickly have a look. If we go to the package json, you can now see we have the @nx/js package installed. It also brought along some other helpers, because the @nx/js plugin here,
01:37 or @nx/js package, doesn't just provide versioning, but it provides other capabilities as well. Now in this course, we don't really touch these, but like potentially it's something that you could look into. If you go to the @nx/js, we can also see now a plugin section has been added here at the bottom, where this @nx/js plugin has been configured. Now as I mentioned, this provides further
01:58 capabilities, such as building your TypeScript project, even though you don't have any package json scripts for building, for running TSC, etc. So this runs it in a very optimized way, also taking into account like TypeScript project references, etc. For this specific course, where we just focus on the NXRelease part, we don't really have to care about this.
02:18 So once we have now installed the @nx/js package, we can actually run the command, or should be able to run the command. So if you go ahead and again run NXRelease, let me here add the dry run, which runs just a simulation of the release. So it doesn't really touch the file system, but it just runs
02:34 through the process of running the release command here, without actually changing anything. So this is really nice for us just testing out things. And so in fact, if I run this now, you can see I have an interactive terminal here that opens, where I can specify which version I want to assign to my packages. So with that, we are set up and ready to go with NXRelease.